Wednesday, February 29, 2012

K11
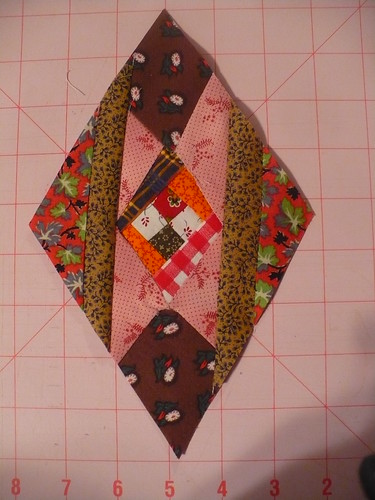
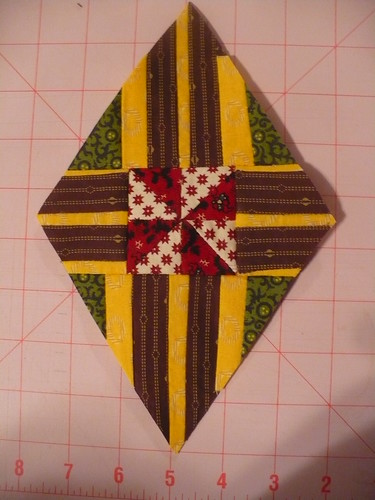
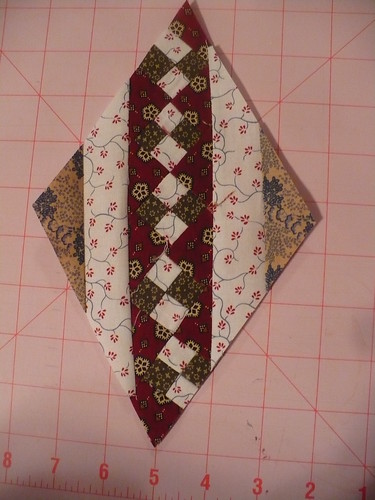
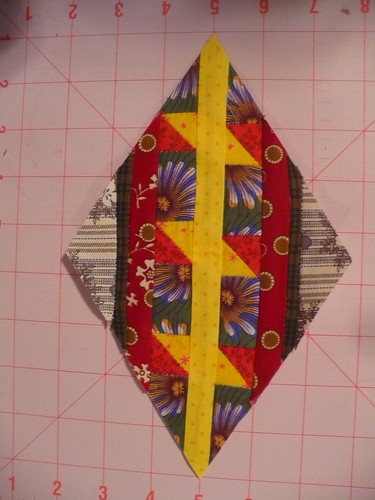
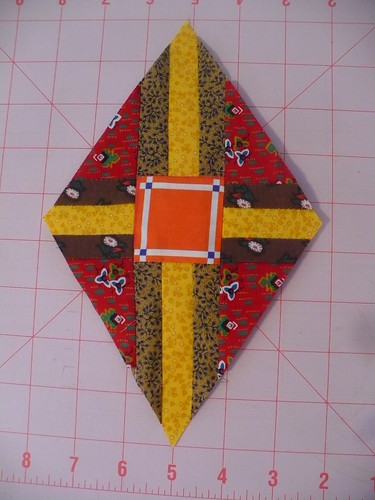
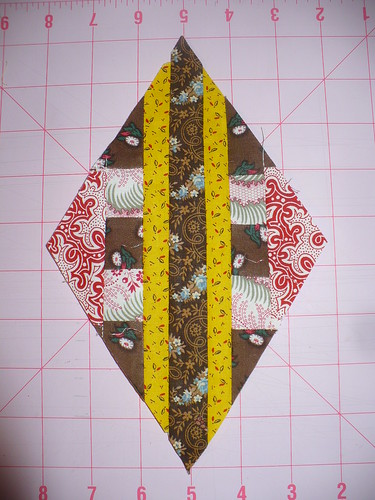
How I Assemble A Block
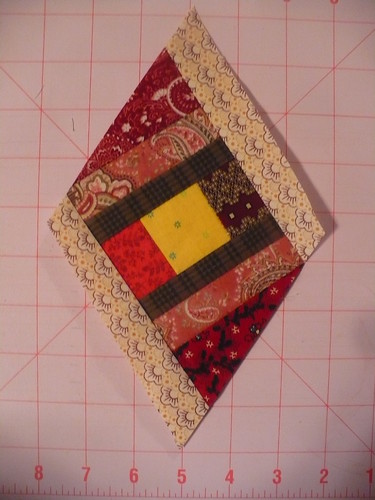
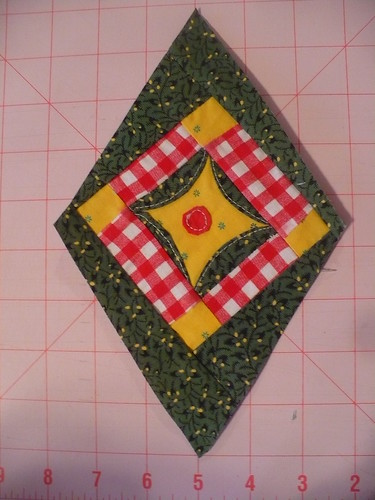
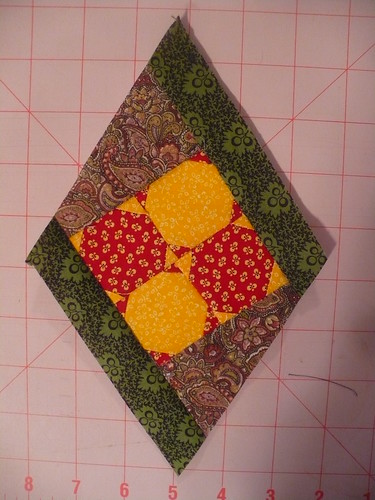
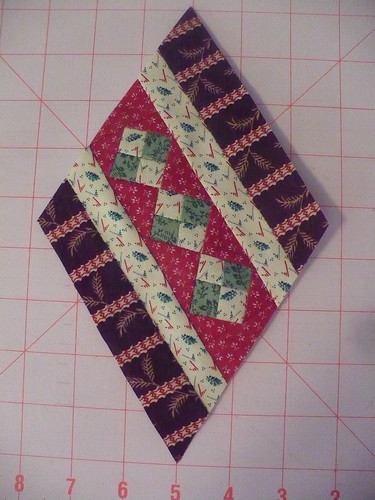
I don't know if this would interest you or not, but I thought that I'd share with you how I put together a diamond.

I begin by trimming the paper diamond.

Next I measure all of the sections.

I cut all of the required pieces.

I create a square in the square block, and trim to size.

I assemble the sides. I find the center by folding in half. I use the folds to align the centers.

I use half of a spring-clothes pin to 'finger' press the seams.

Once assembled, I lay the plexiglass template over the block and trim.
After I have trimmed the block, I separate the orts into useable and unusable piles.


Useable goes into a Ziploc baggie, to be scavenged for later block parts. The unusable, goes into my recycle bin.
A quick photo of the block, before pinning the paper to the block, and I am done.

Monday, February 20, 2012

Close-up Set 10 Sheet
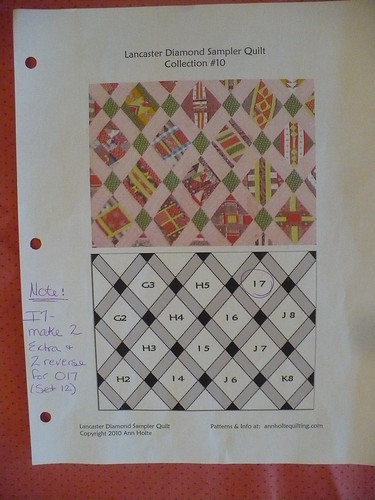
You can see that I've made notes for myself concerning blocks. As you progress through the quilt, you will see that there are several blocks where the blocks get used again in later blocks.
Set 10 with layout sheet
While setting up the set, I refer to the layout sheet included with the documentation.
I also use this to pick out the colors of the blocks, and any modifications that have been made, or may need to be made to the template(s).
Laying out the blocks together helps me to avoid putting the same fabrics next to each other. I do now have enough of a variety of fabrics that I do not have to use the same "yellow" or "green" or "red" in blocks that fall beside each other.
Can you tell that I did not have the blocks laid out when I picked the tan/purple stripe for the first whole block in the top centre row, and the second block in the bottom centre row. Those stripes will fall like that -- just across a pink sashing piece from each other in the finished quilt. Oh well. C'est la vie!

My Favorite Tools
I said I would show you some of my favorite tools and find them to be worthy of my recommendation(s). But, first, I feel that I must put in the disclaimer that I am **not** affiliated with any of these products. I did not receive any free products, nor promotions from any of the companies I am going to list. With the exception of one ruler, I purchased each of these products myself.
Monday, February 13, 2012
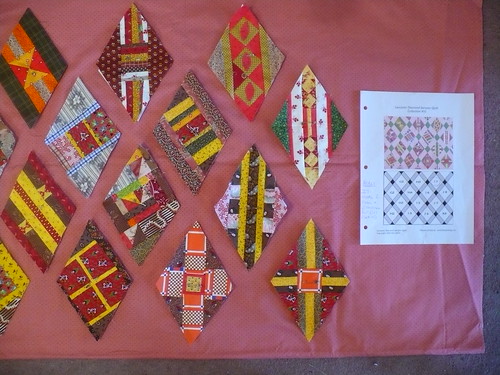
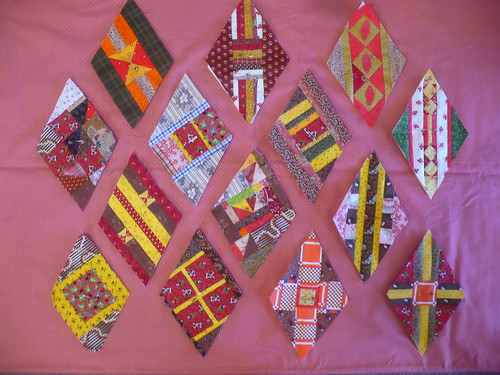
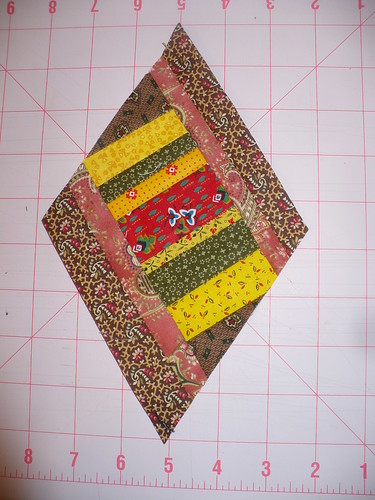
Set 10 - so far

Here is Set 10 thusfar. There's two more blocks to complete this set.
Recovery from the surgery is going okay. I've done seven blocks in the last couple of days. The first day I stopped when I realized how much my tummy hurt from pressing down while cutting through the blocks. Today, I changed the blade in my rotary cutter first thing. It was like cutting with butter with a hot knife. I know that my sewing station is not ideal -- I'm set up on tv trays in front of the couch, so I am sure that accounts at least a little to how quickly I tire. However, everything is within reach, so I am not getting up/down going from my machine, to my iron to my cutting area. In truth, in my sewing room, I have an L-shaped desk which I made a "U" by adding my ironing board to the mix. As I sew, the ironing board is directly behind me and the cutting area is to the left.
I have been thinking about making one of my next posts a 'show' of some of my favorite tools while working on this quilt. Do not be surprised if you see that show up in the near future.


Sunday, February 12, 2012


Subscribe to:
Posts (Atom)